Ugwu is one of the most interesting plants I’ve ever got to plant.If you do not understand it, it is bound to be a failed project (many people complain about ugwu failing). But once you understand the procedure, you will find out it’s one of the most rugged plants there is.
Ugwu pods
Ugwu seeds come in a pod, and so far I know of two species.There is a small one that gets to have about 30 seeds in it (it is usually referred to as ‘local’ breed, so I’m not sure where it originated from).
Then there is another specie that gives bigger pods and it comes with (usually) between 72 and 98 seeds in it.
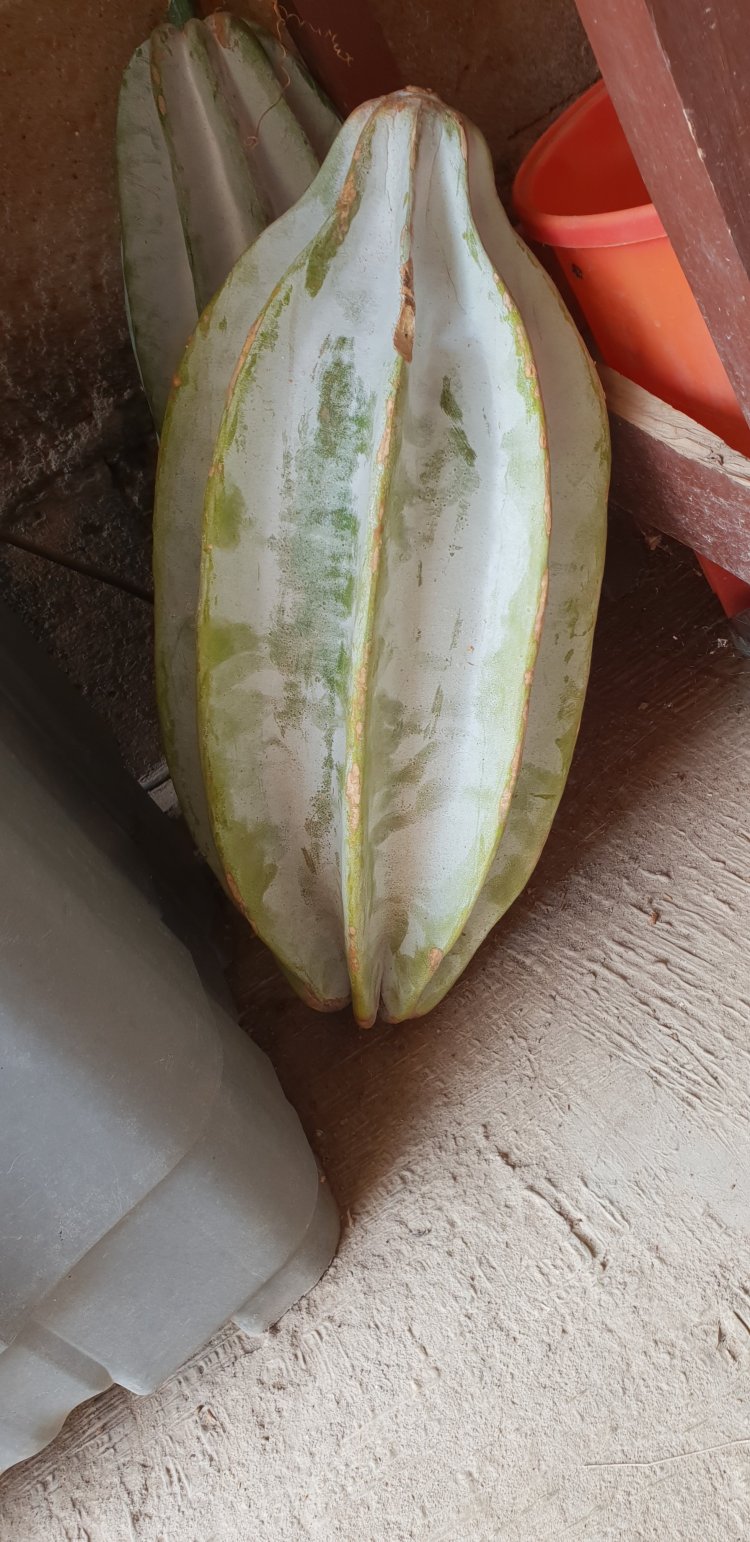
Ugwu pod (large)
Prices vary, depending on the season.The smaller one sells for about N1500 during the dry season but can go as high as N5000 during the rainy season.
The bigger specie sells for about N2500 during the dry season but goes as high up as N10,000 during rainy season.
Please note that the prices are valid as of April 2021. Market price tend to change drastically in Nigeria and as such, these info should just be taken as a guide.
UGWU SEEDS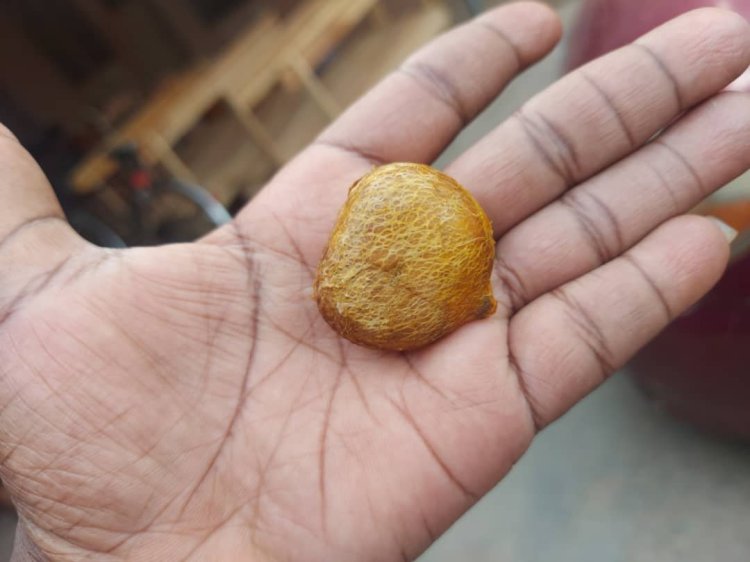 Ugwu seeds come between 2cm and 4cm in size.
The size however doesn’t affect the quality of what comes out of it, as long as it is properly managed.
When you break the pod (carefully), you will see a mass of moist fibre that protects the seeds (almost like how pawpaw encases its seeds).
Carefully peel off the fibre to expose the seeds.
Place them in a bowl or tray and air-dry for a day or two.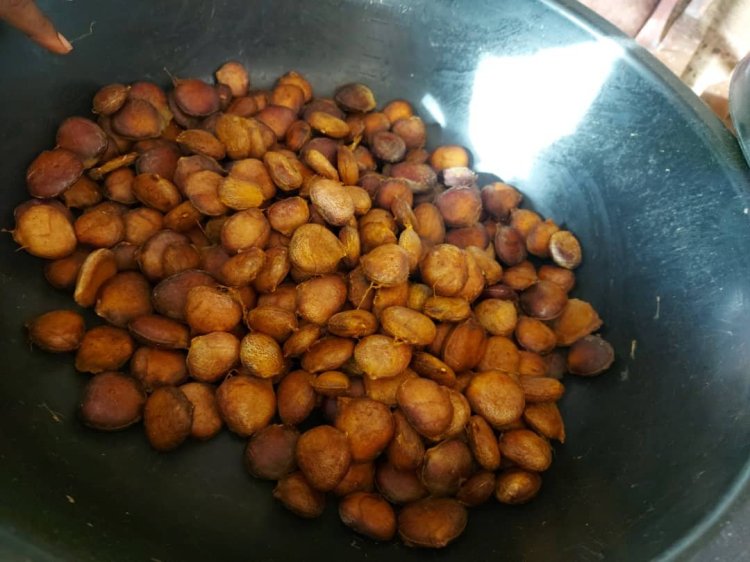
PLANTING
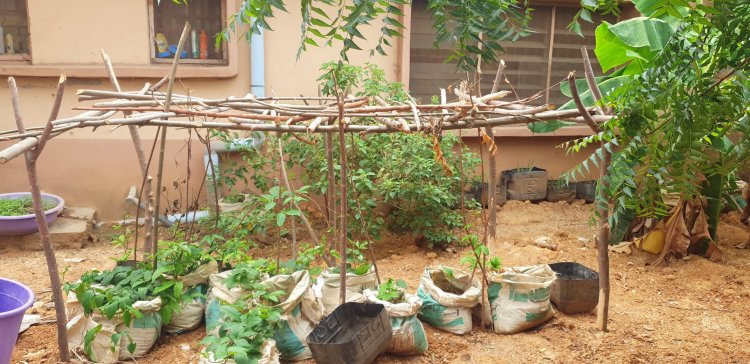
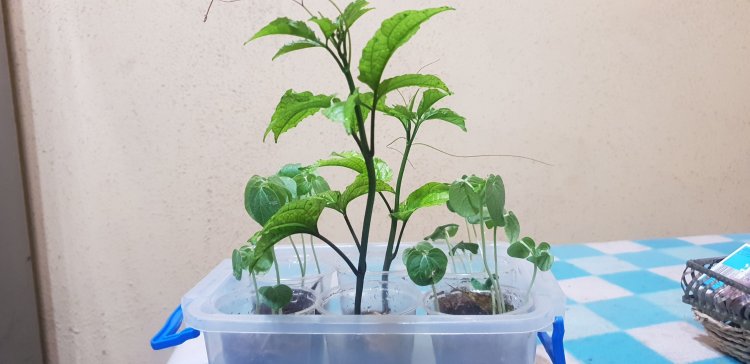
You can actually plant directly on the farm but I prefer to monitor the progress of my plants from germination till they are ready to ‘graduate from the nursery’.
So I use cups, which make it easy for me to assess progress without disturbing growth process (digging plant out of the soil).
If you are planting directly on the farm, the first thing you should do is to prepare the field (weed, make heaps…the whole works, i believe we know).
If like me, you will be using a nursery, find a suitable (and available) methods to use. Over here, we use damaged kegs, bowls, cups etc. See pictures below) damaged 25ltr keg cut in half, showing ugwu sprouts
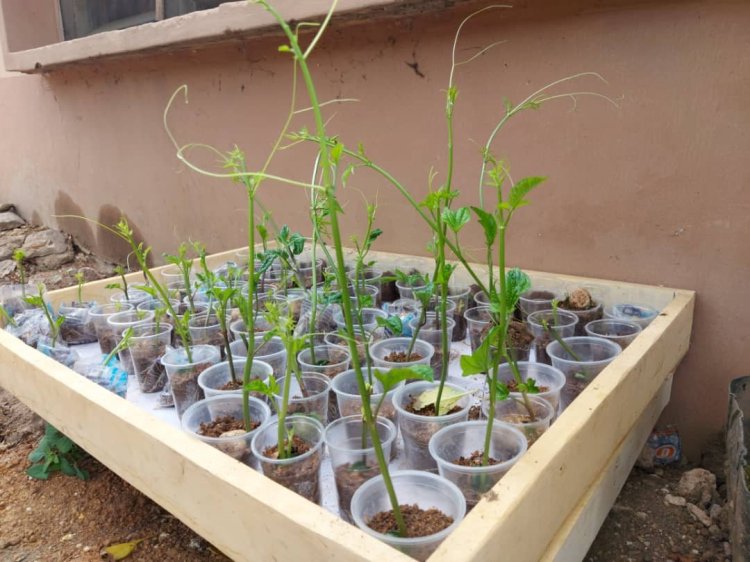
 Disposable cups, showing ugwu sprouts
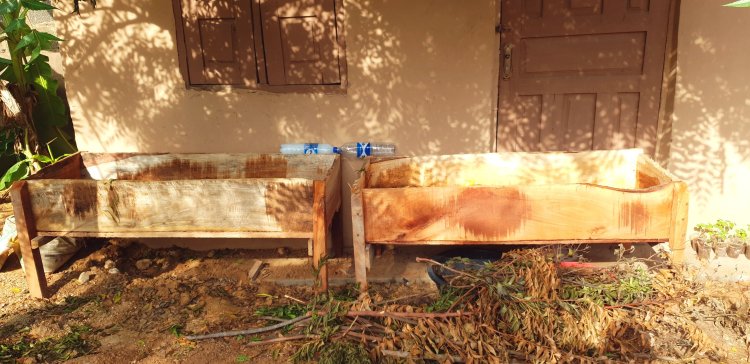 Raised Wooden nurseryWhatever the method you choose to use, get some saw dust, mix with some sand and fill your container of choice. Water it lightly, and it’s ready to accomodate your seeds.
PLANTING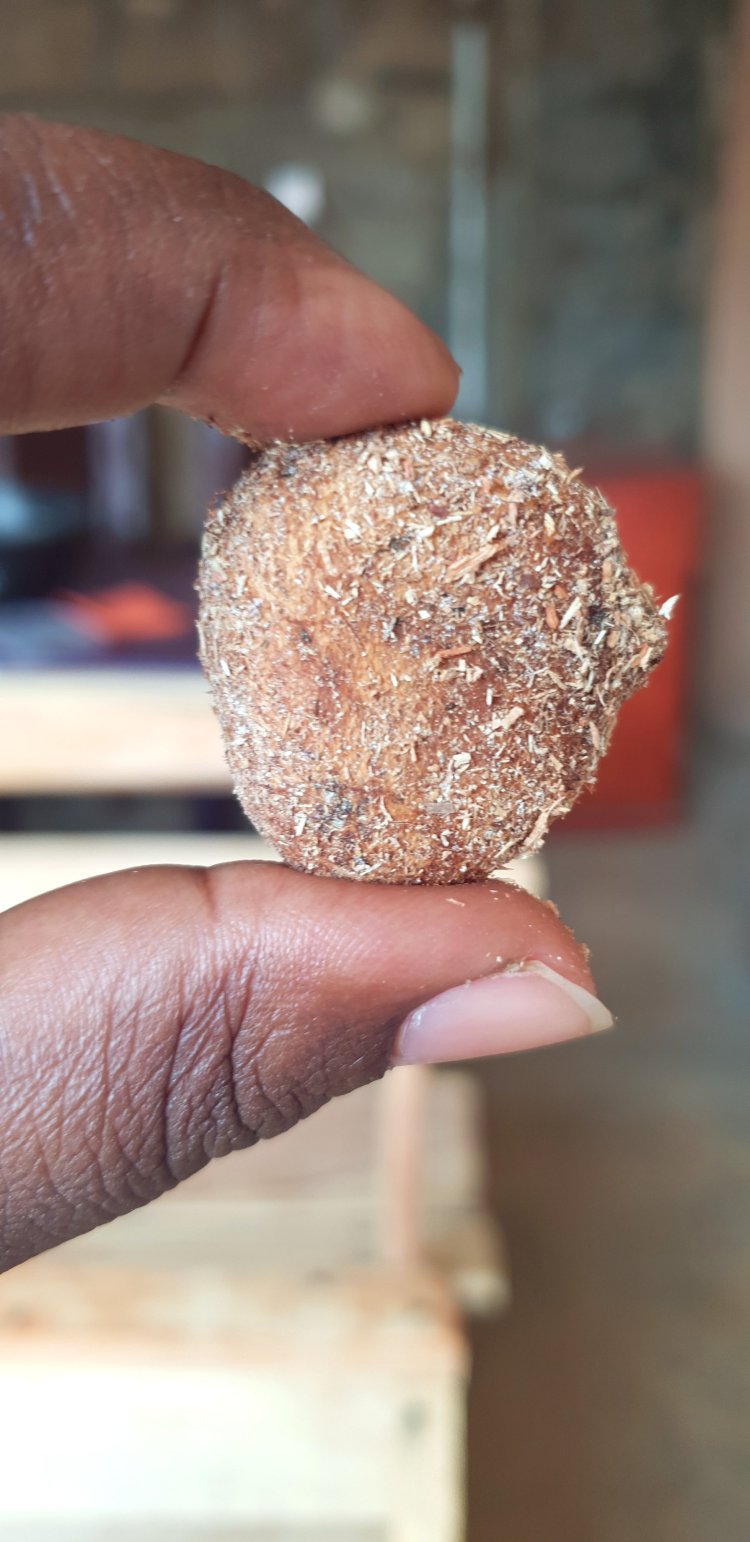 Your seed should have two blunt sides and one pointed end.
You will need to plant your seed exactly the way I held it in this picture…with the pointed edge facing out (and one blunt side facing up, while the other blunt side goes into the soil).
This method is applicable for the hybrid (large) pod specie.
The smaller one (local) is mostly a gamble. And for this reason, the success rate of the hybrid is higher than the local.
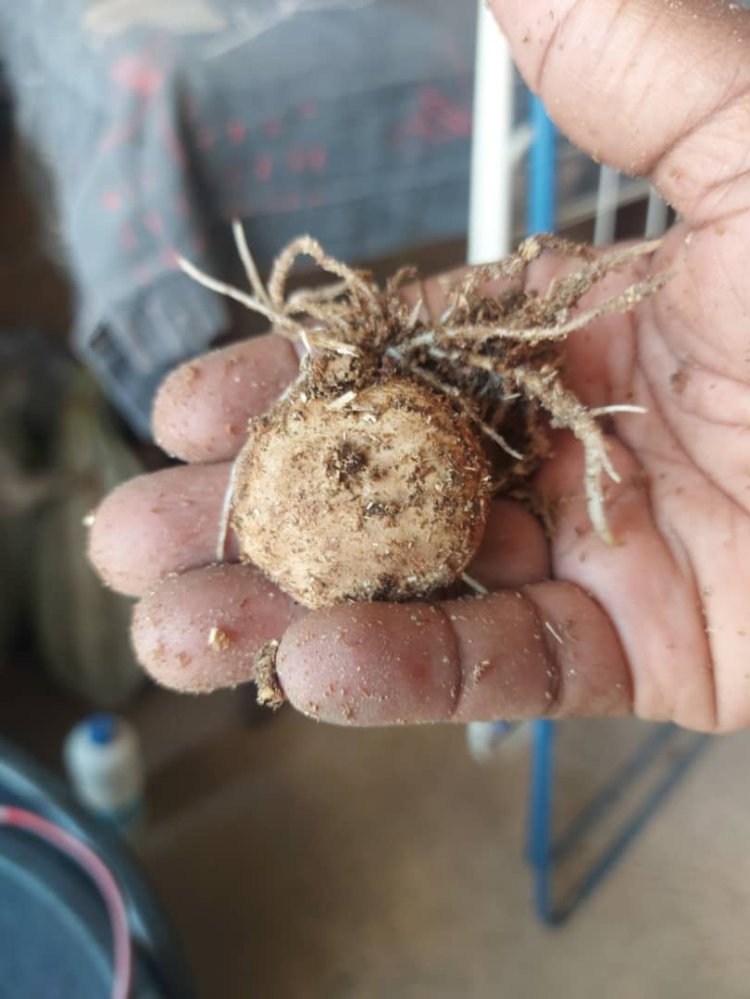
This right here is the reason why you should plant with the stated method.
As seen in the picture above, the root sprouts from the pointed edge while the leaves emerge from the blunt side (it doesnt matter which side. It can emerge from either side, but it will choose whichever side is facing up).
GERMINATION
 These (as seen in the pictures above) are the first stages of growth but it is usually not seen because its immersed in the soil.
The first (physical) thing that happens with your seed is to produce roots, first a single thick one and followed by tinier tendrils that quickly form a web.
This stage occur at about (give or take) 5-7 days into planting.
The next stage is the first stage that is seen from above the soil, and this is when the blunt part of the seed splits open from the top.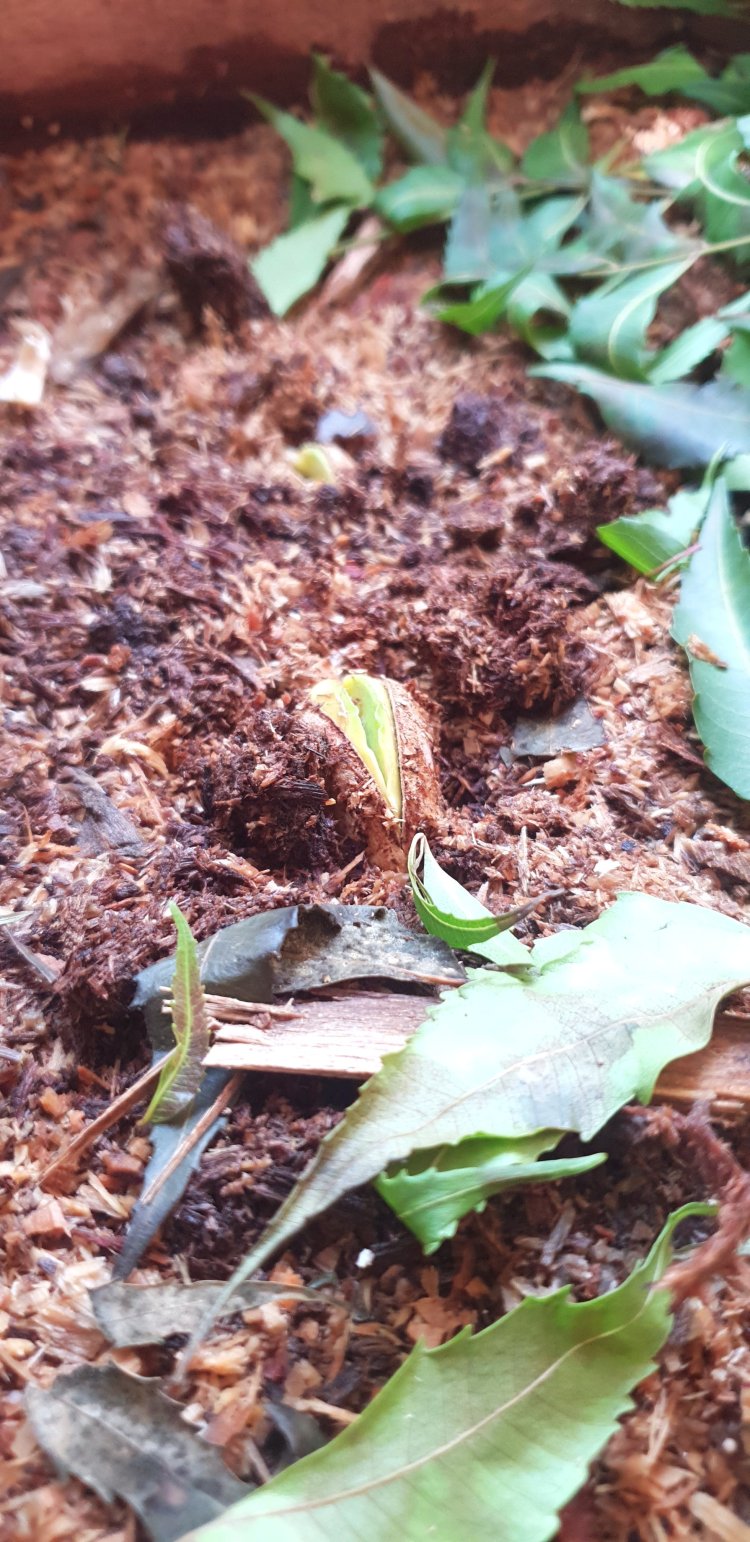
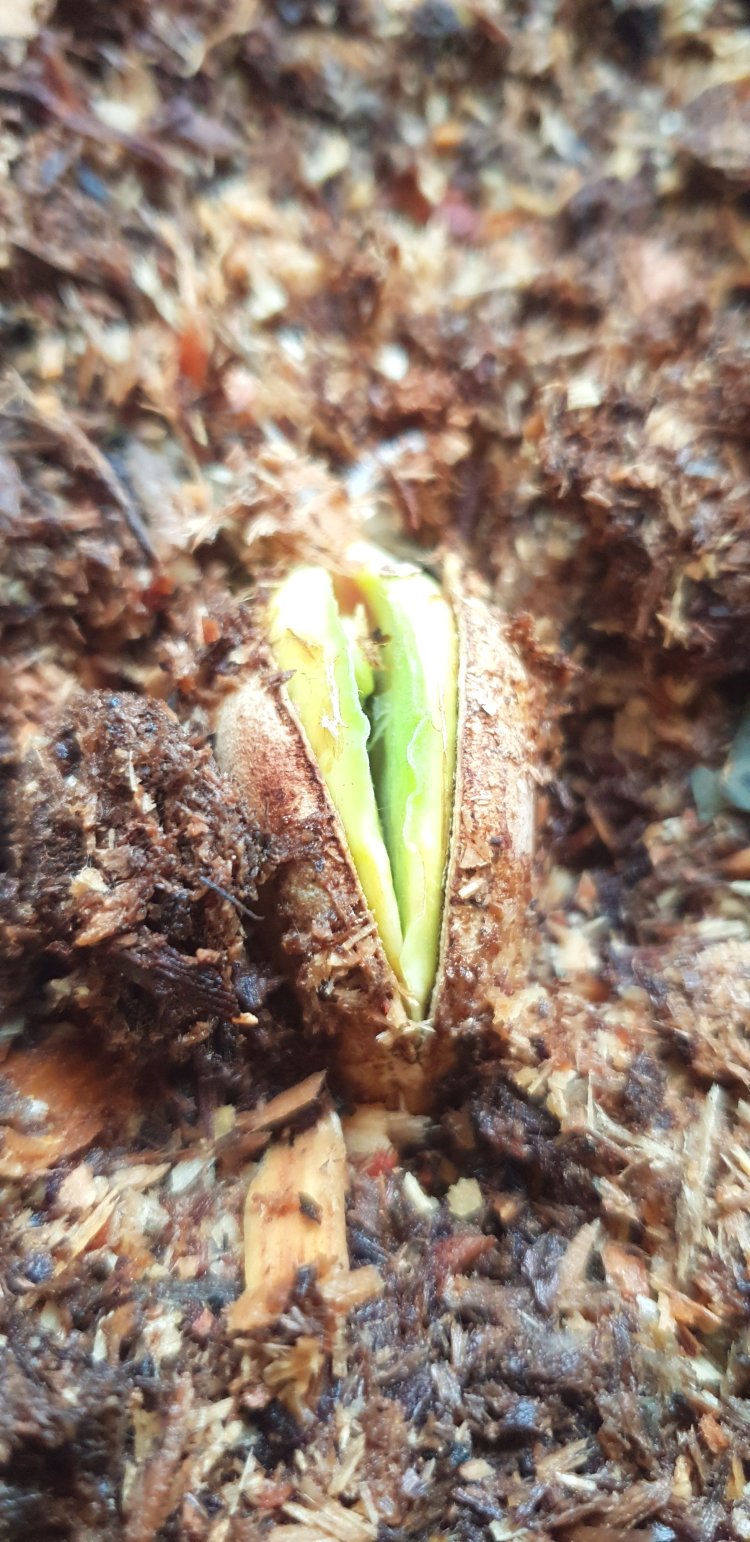
 Splitting occurs about 8-10 days after planting (depending on virility).Once splitting occurs, a tender leaf (or two) will find it’s way out of the seed.
It usually takes about 2 weeks from the day the seed is planted, to the day the first sprouts emerge. Some will coke out earlier than this while others will come later. If your pod is sourced from a viable parent stock and properly managed, every single one of the seeds should germinate.
From this point, it’s nothing but speedy growth.
 About a week or two after germination (if well cared for), the seedling should become long, have ‘hairs’ and start to show signs that it’s too grown for cups.
At this point, it is ready to be translated onto the main field.
PLANTING
You should wait till the onset of rains, and for the field to be fully ready, before the seedlings are transplanted.
Ugwu is quite a tough plant and will survive in most conditions but one should be mindful of the intensity of sun especially at the tender stage.
I plant both on the field (large quantity) and in my garden (home gardening). For the latter, I use bags and containers which make it easy for me to move about during those early weeks of growth.
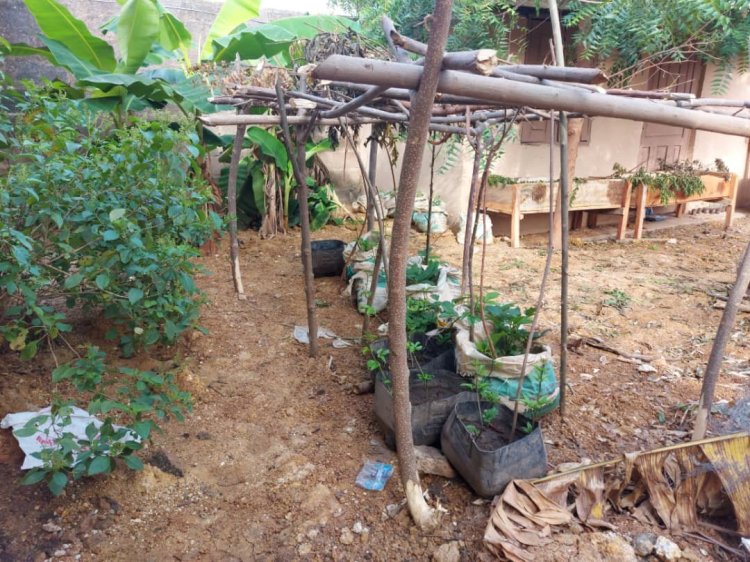 Stakes/ sheds are essential for ugwu plants, whether cultivating it for leaves or for the fruit.
I would say if planting on the field, the shed should be built at about the time the seedlings are being transplanted for 2 major reasons.
1. Digging the soil (to build a shed/ stake) after a plant has been established is dangerous too the roots as they stand a risk of being damaged.
2. We know how scorching the sun can be in Nigeria. Having a shed especially at the tender stage of growth of the plant makes it possible to put palm fronds or other means of shade, to protect the plant until it is strong enough to withstand the heat.
It is better to transplant in the evening (when the sun is down), water the plant if the soil isn’t wet (if it hasn’t rained for a few days and the soil is dry) and check up on it at least every other day.
Spacing should be about half a foot apart if cultivating for leaves but about two feet apart if cultivating for fruits.
If planting in the house, and you have a tree, it is pretty easy if your plants stay under or around the tree, with the hope that the tree will serve as the fortress against which your plants will creep. The likes of ewuro tree is the best because the trunks aren’t too wide, and as such easy for the ugwu tresses to attach to.
NURSERY ERRORS
As easy as it is to cultivate ugwu, it is also easy to make mistakes but as said earlier, ugwu is one tough crop and will fight to survive, if you try to reverse the mistakes as quickly as possible.
The most common error is the positioning of the seed that has been treated above.Next is moisture content of the soil. If the soil is too dry, it may be difficult for the seed to break open and this will eventually lead to rot.Once the root however starts to emerge, one should be mindful of flooding the seedling. In some cases, allowance made for drainage may not be enough and the retained water would cause the roots to start to rot.
This is why one ought to monitor the plants closely on a daily basis.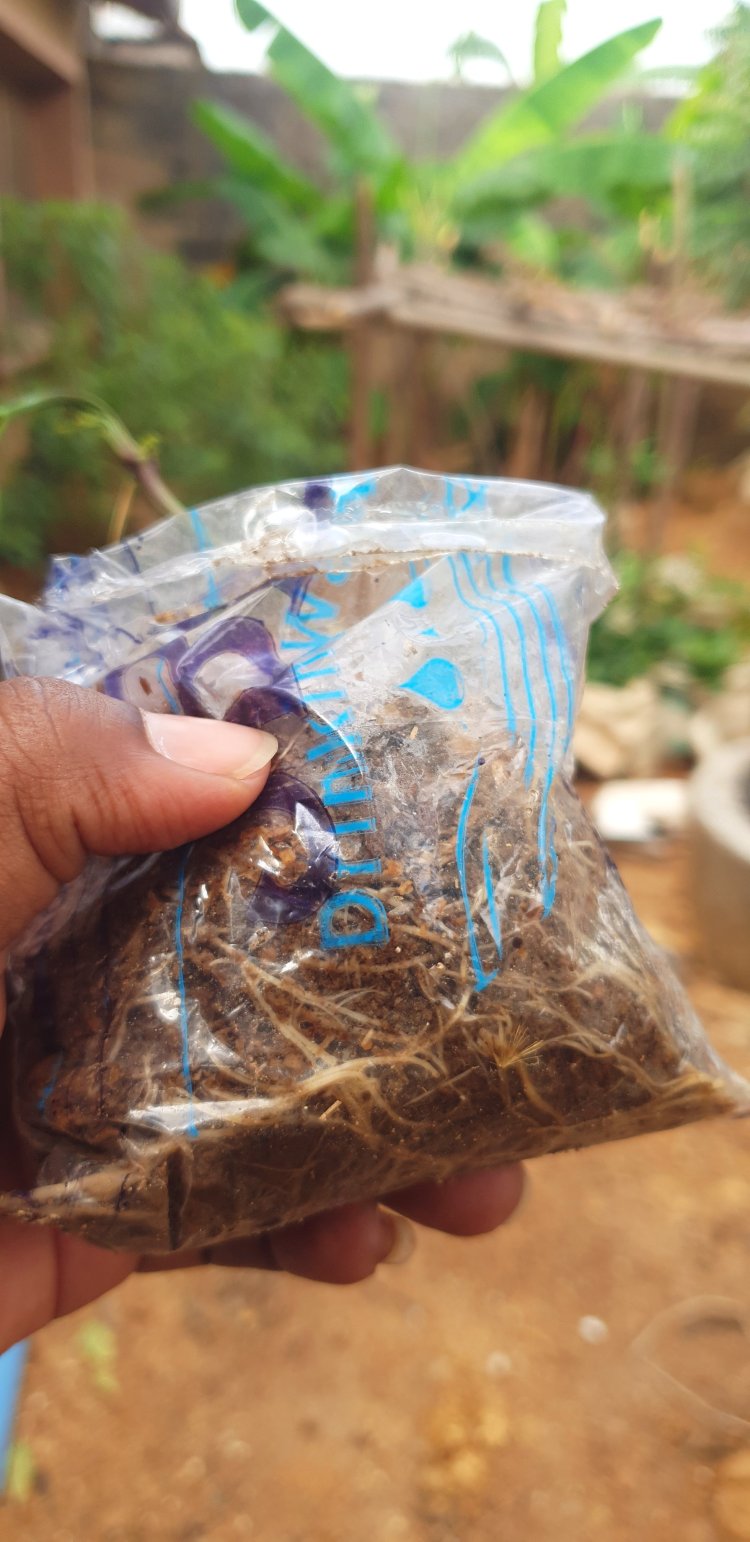 I do use spent satchet (pure water nylon) but I find it pretty uncomfortable because roots don’t tend to do well especially if the seedling will stay long in it. Also because it loiters the environment after use.
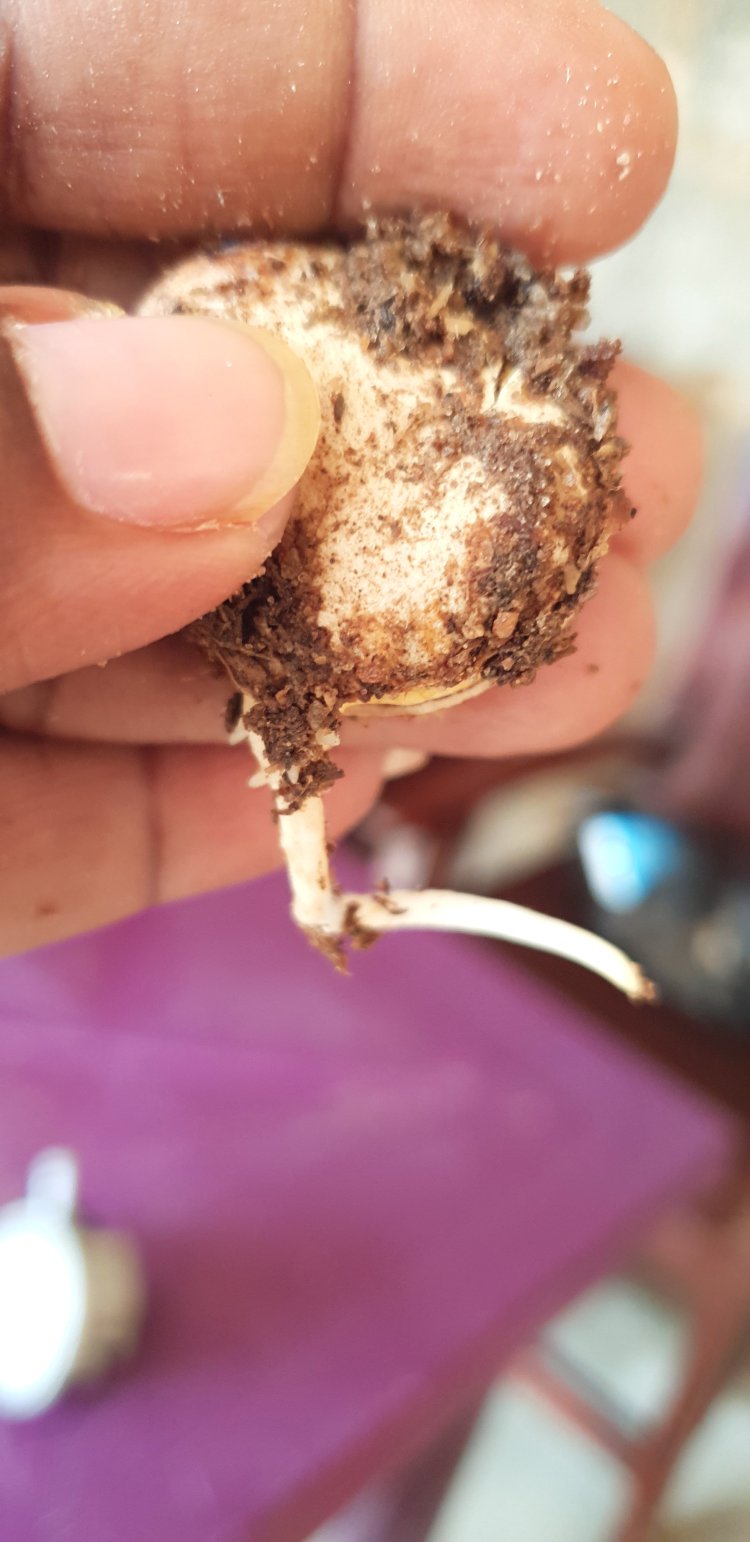
This here is a typical example of waterlogged roots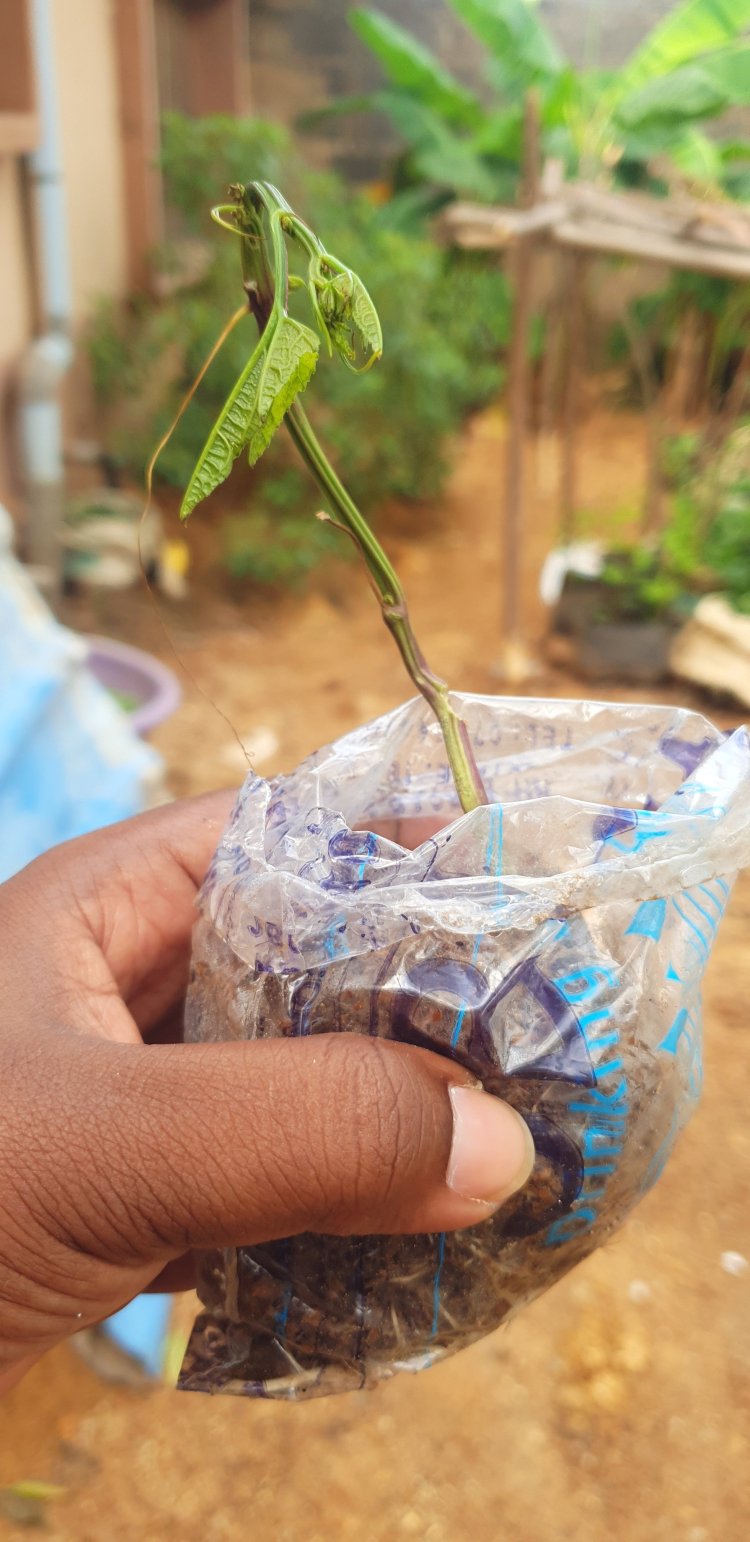 Asides the root of this plant being damaged by water, an animal nibbled the stem pretty bad.
All I did was plant it out immediately (to allow free flow of water, because I didn’t want to return it to the nursery); and then I used neem branches to form a shade over it (they work as well as palm fronds do).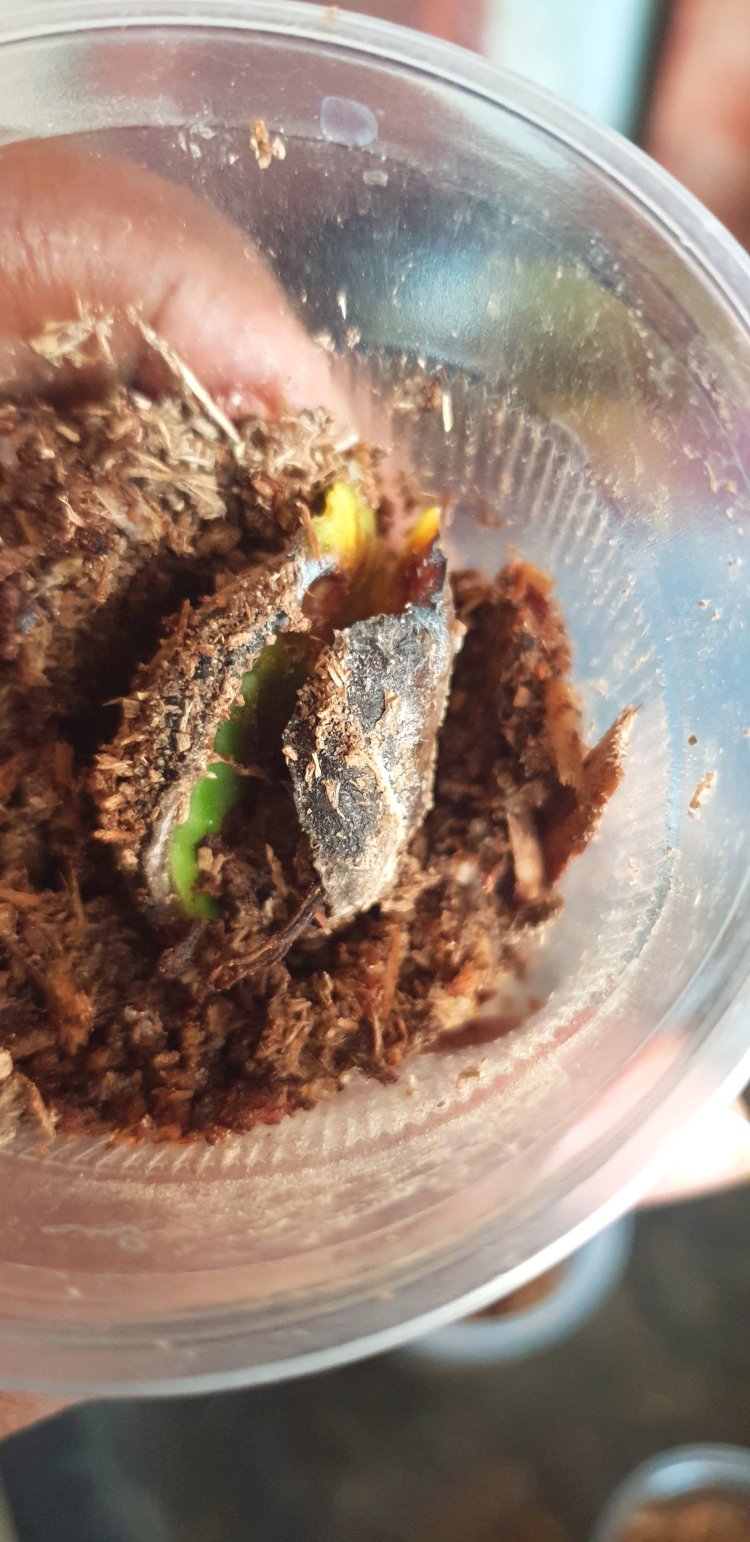 This is one badly damaged seed. It was immersed and forgotten and by the time I realized, it had started to rot. Luckily it still had some green patch, which when exposed to the sun brought it back to life.
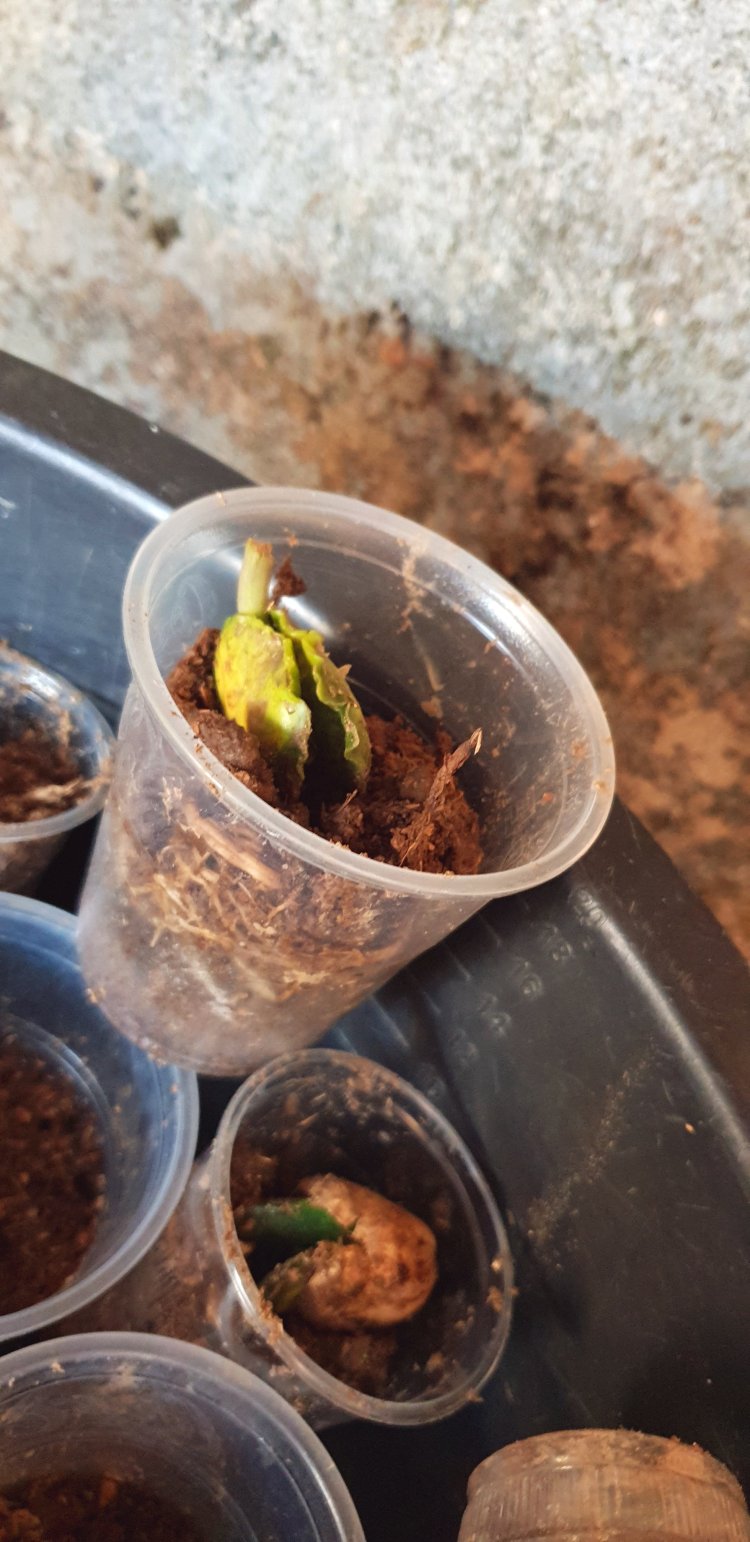 This particular plant was nibbled off completely by an unidentified animal. Twice. A fresh sprout emerged about 2 weeks of nurturing.
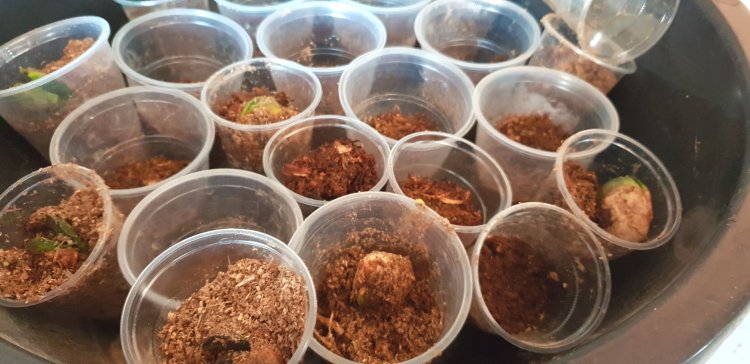 This batch got water logged. Some were already soggy, looking like the end of their lives. First thing I did was to reverse the problem (re-pot in a cup of dry sand/ sawdust) and totally remove from the sun.
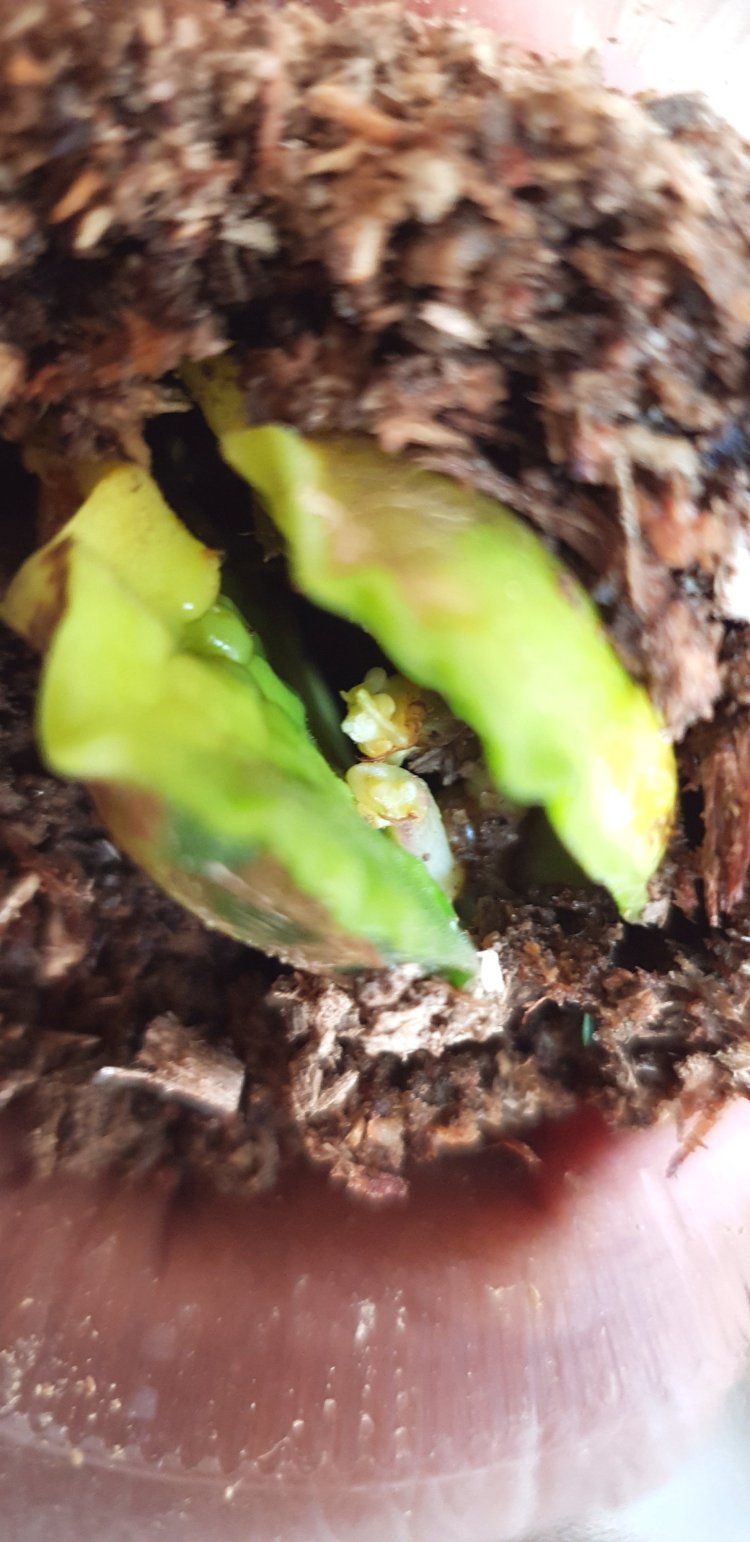
 This was also snapped off by an animal. You can spot the tiny new sprout about to emerge from within.
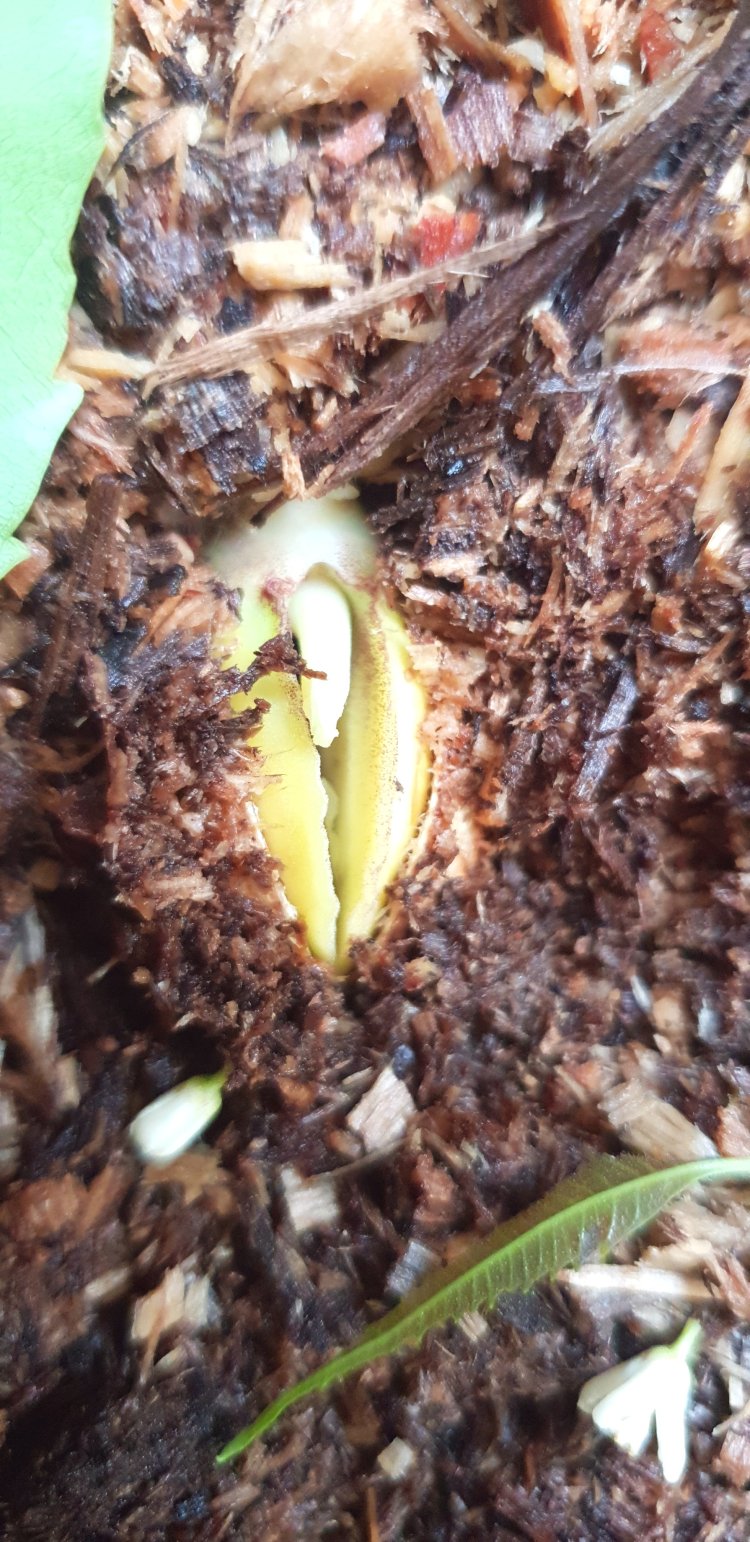
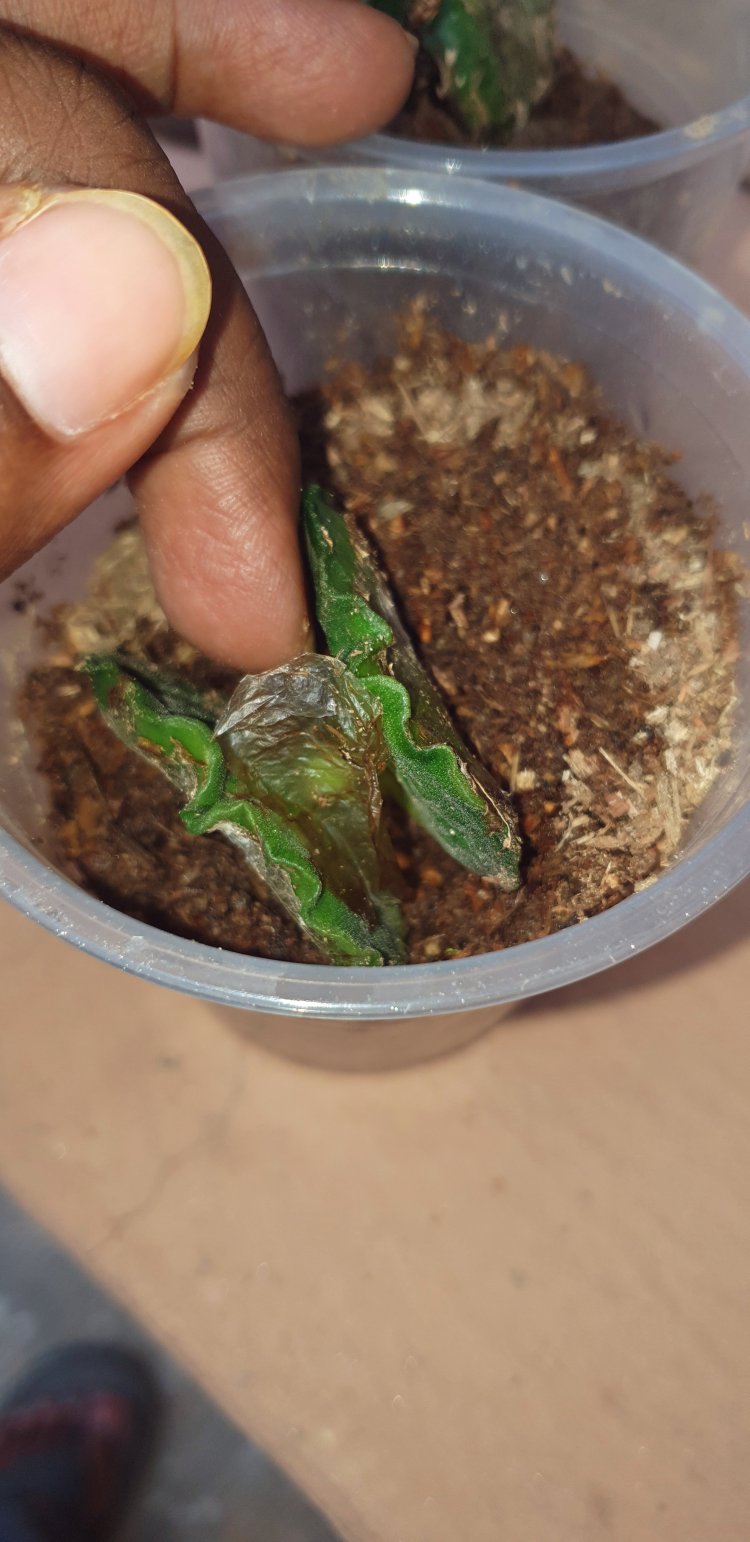 And then about 48 hours later, the color started to change. I realized that ugwu seeds create a protective layer, kind of like a cocoon when faced with adverse environment. This guards the inside of the split seed (which is where a fresh growth will emerge, as long as the seed is still viable, even if the previous one got damaged)
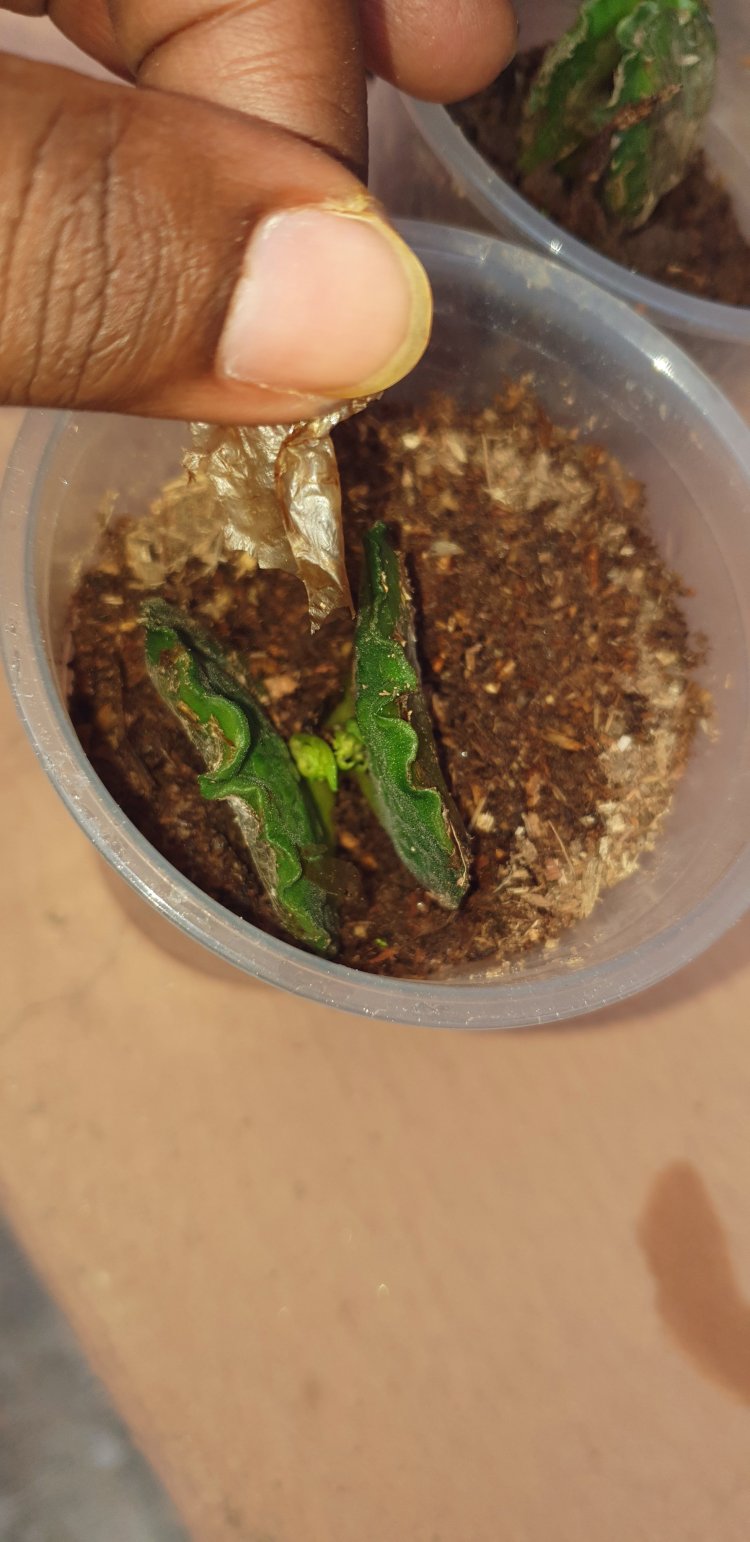 Removing the film exposed a fresh growth.
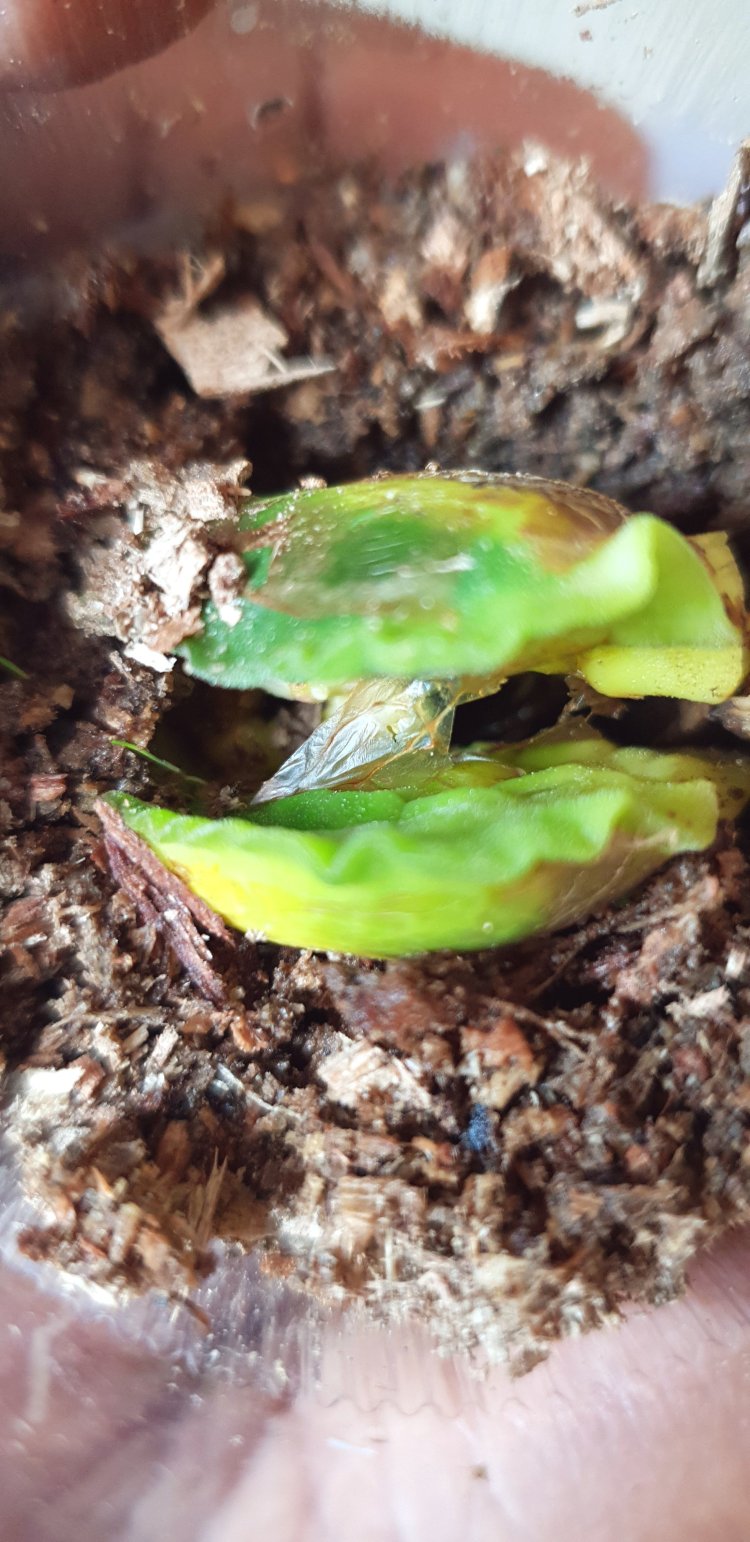
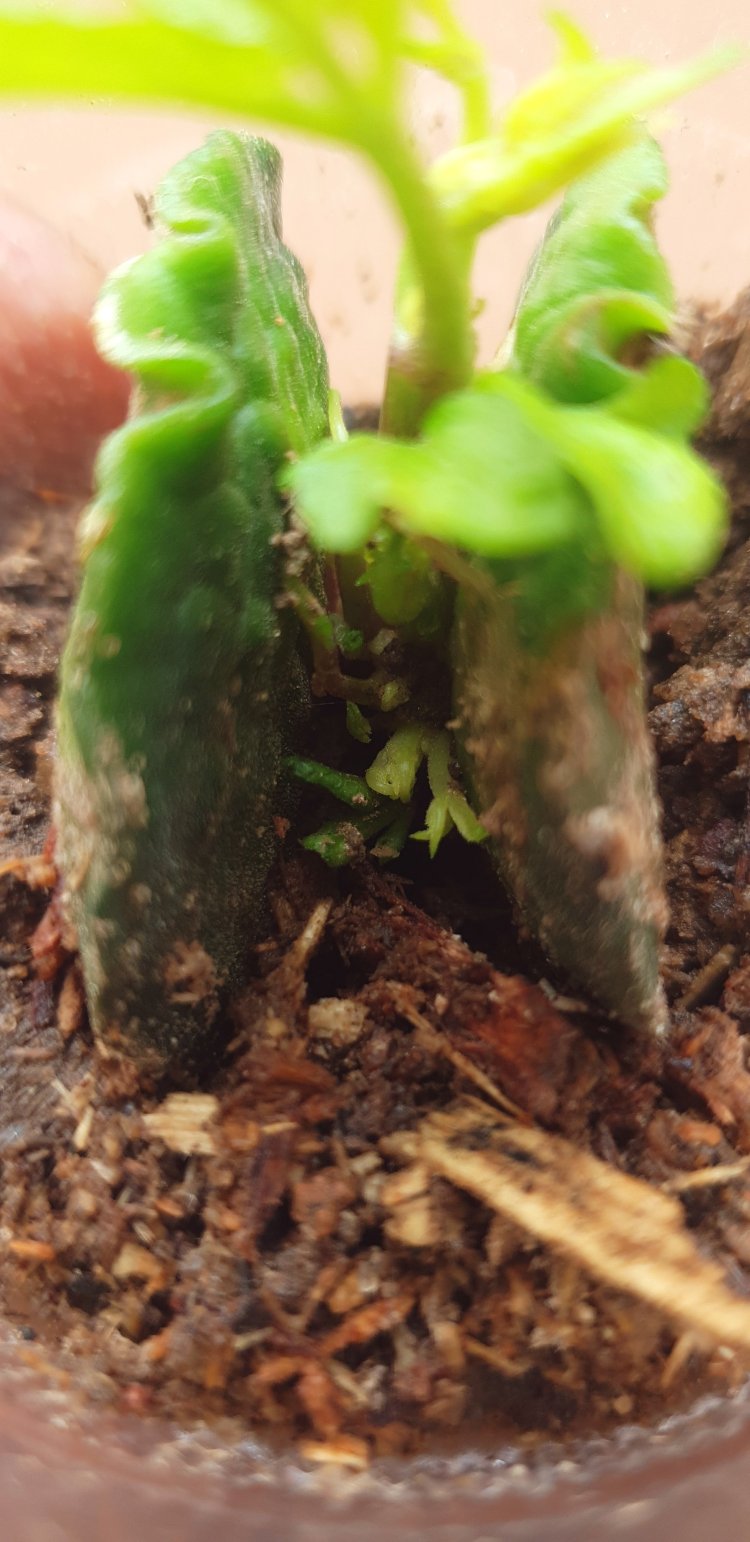
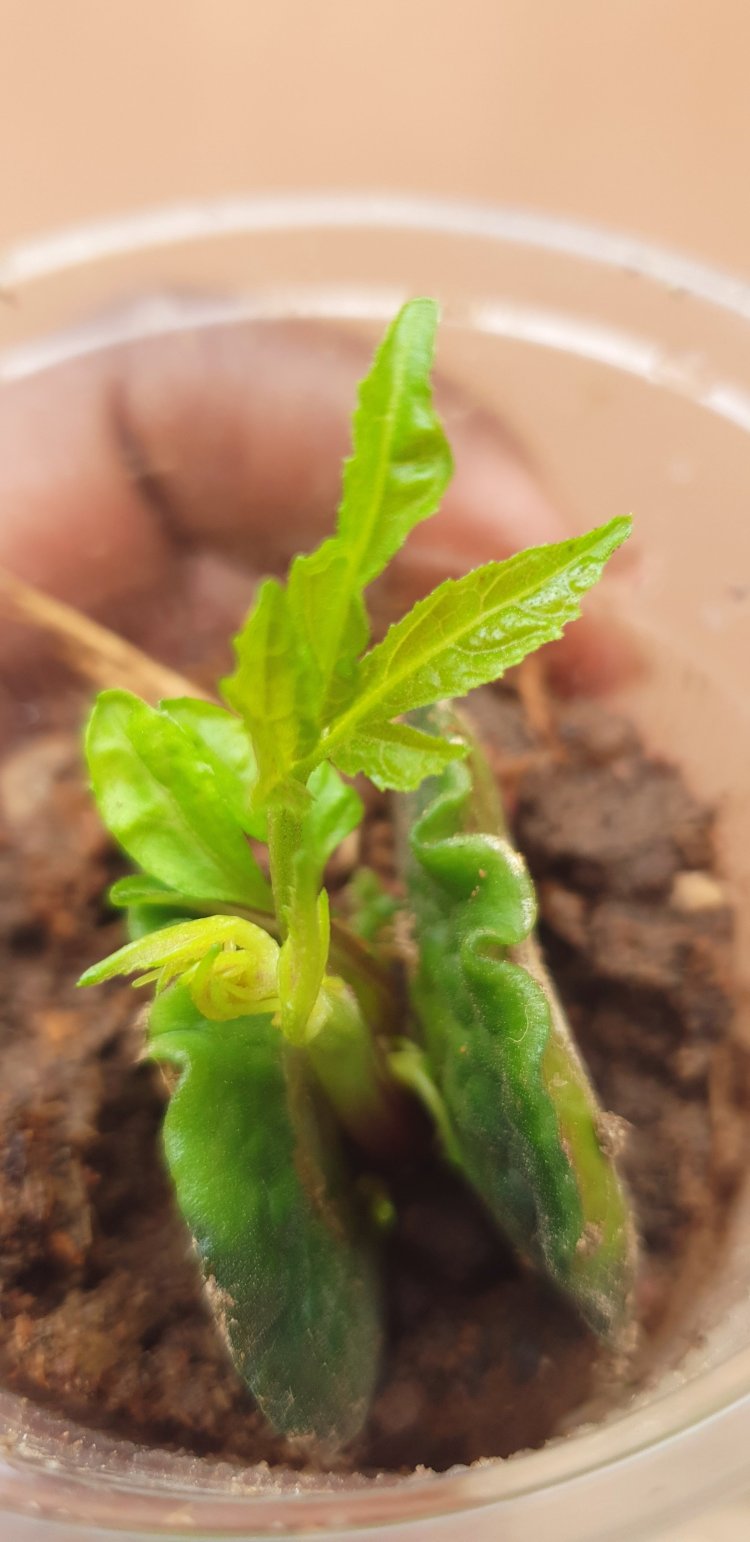 The last 2 pictures are of a seedling which I thought would not recover from its damage because it wasn’t just nibbled from the top, the animal chewed all the way in.
After about a week of careful nurturing, not just one but about four beautiful sprouts emerged, revealing this beauty.
If you notice a snap in the fresh succulent plant (like an animal had it for dinner😁), don’t be alarmed. Simply change the location away from accessibility to the animal and give the plant about a week to recover.
Speculations are that the snapping is done by an alligator (over here) but we haven’t physically caught it.We were advised to use some repellant of some sort but I’m not convinced it worked.
The most common pest on the field are grasshoppers. Unless it is an infestation, you should not be worried about it.
HARVESTING
Harvesting can start about 4 weeks after planting (leaves); and at 2-4 weeks interval. Fruits are ready for harvesting at about 9 weeks after the onset of fruiting.
#eniolafarms
@eniolafarms
08038597411